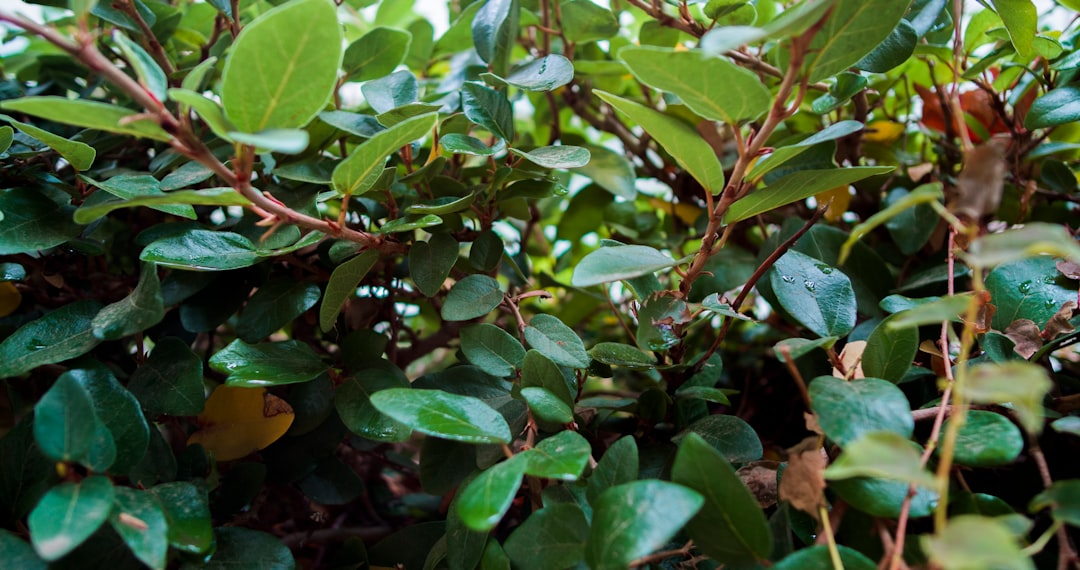
Are you looking to add a touch of nature and artistry to your living space? Creating your own tabletop moss garden is a wonderful way to bring the beauty of the outdoors inside or enhance an outdoor room. In just five simple steps, you can craft a unique and serene moss garden that will become a focal point in any setting.
Step 1: Gather Your Materials
To start your DIY moss garden project, you'll need a few essential materials. First, choose a suitable container. This could be a shallow ceramic dish, a wooden box, or even a glass terrarium. The container should have good drainage, so if it doesn't already have holes, you can drill a few in the bottom. Next, gather some moss. You can find moss in your local garden center or collect it from a natural area (make sure it's legal to do so in your region). You'll also need some small rocks or pebbles for drainage, activated charcoal to keep the soil fresh, and potting soil. Additionally, you might want to include some decorative elements like small figurines, driftwood, or miniature plants to personalize your garden.
Step 2: Prepare the Container
Begin by adding a layer of small rocks or pebbles to the bottom of your container. This layer will help with drainage and prevent the roots of your moss from sitting in water. The depth of the rock layer should be about 1 - 2 inches, depending on the size of your container. On top of the rocks, sprinkle a thin layer of activated charcoal. The charcoal will absorb any odors and help keep the soil clean and healthy. After that, add a layer of potting soil. The soil should be moist but not soggy. You can use a trowel or your hands to spread the soil evenly across the container, leaving enough space for the moss and any additional elements you plan to add.
Step 3: Select and Arrange the Moss
Now it's time to choose the moss for your garden. There are different types of moss available, each with its own unique texture and color. Some common types include sheet moss, cushion moss, and haircap moss. Select the moss that appeals to you the most and carefully remove it from its packaging or the area where you collected it. Break the moss into small pieces and arrange them on top of the soil. You can create different patterns or simply spread the moss evenly across the surface. Press the moss gently into the soil to ensure good contact and help it take root.
Step 4: Add Decorative Elements
This is the fun part where you can let your creativity shine. Add small figurines, such as fairies or gnomes, to give your moss garden a whimsical touch. Driftwood can add a natural and rustic element, while miniature plants like succulents or ferns can provide additional color and variety. Place these elements strategically around the moss, taking care not to overcrowd the garden. You can also use small stones or shells to create paths or borders within the garden. Experiment with different arrangements until you're happy with the overall look.
Step 5: Maintain Your Moss Garden
Once your moss garden is complete, it's important to take proper care of it to keep it looking its best. Moss prefers a moist environment, so mist the garden with water regularly, especially during dry periods. Avoid over - watering, as this can lead to mold growth. Place your moss garden in a location that receives indirect sunlight. Direct sunlight can be too harsh for the moss and cause it to dry out. If you notice any dead or brown patches of moss, gently remove them and replace them with fresh moss. With a little bit of attention and care, your tabletop moss garden will thrive and bring a sense of tranquility to your space for years to come.
In conclusion, creating a DIY tabletop moss garden is a rewarding and enjoyable project that allows you to express your creativity while bringing the beauty of nature into your home or outdoor area. By following these five simple steps, you can create a unique and charming moss garden that will be a source of pride and relaxation.


